To fix the white line at the bottom of your laptop screen, you may need to update your video card drivers, check your video cable connection, or address any issues with your system software. These factors could be causing the appearance of the white line on your screen.
Common Causes Of White Line At Bottom Of Laptop Screen
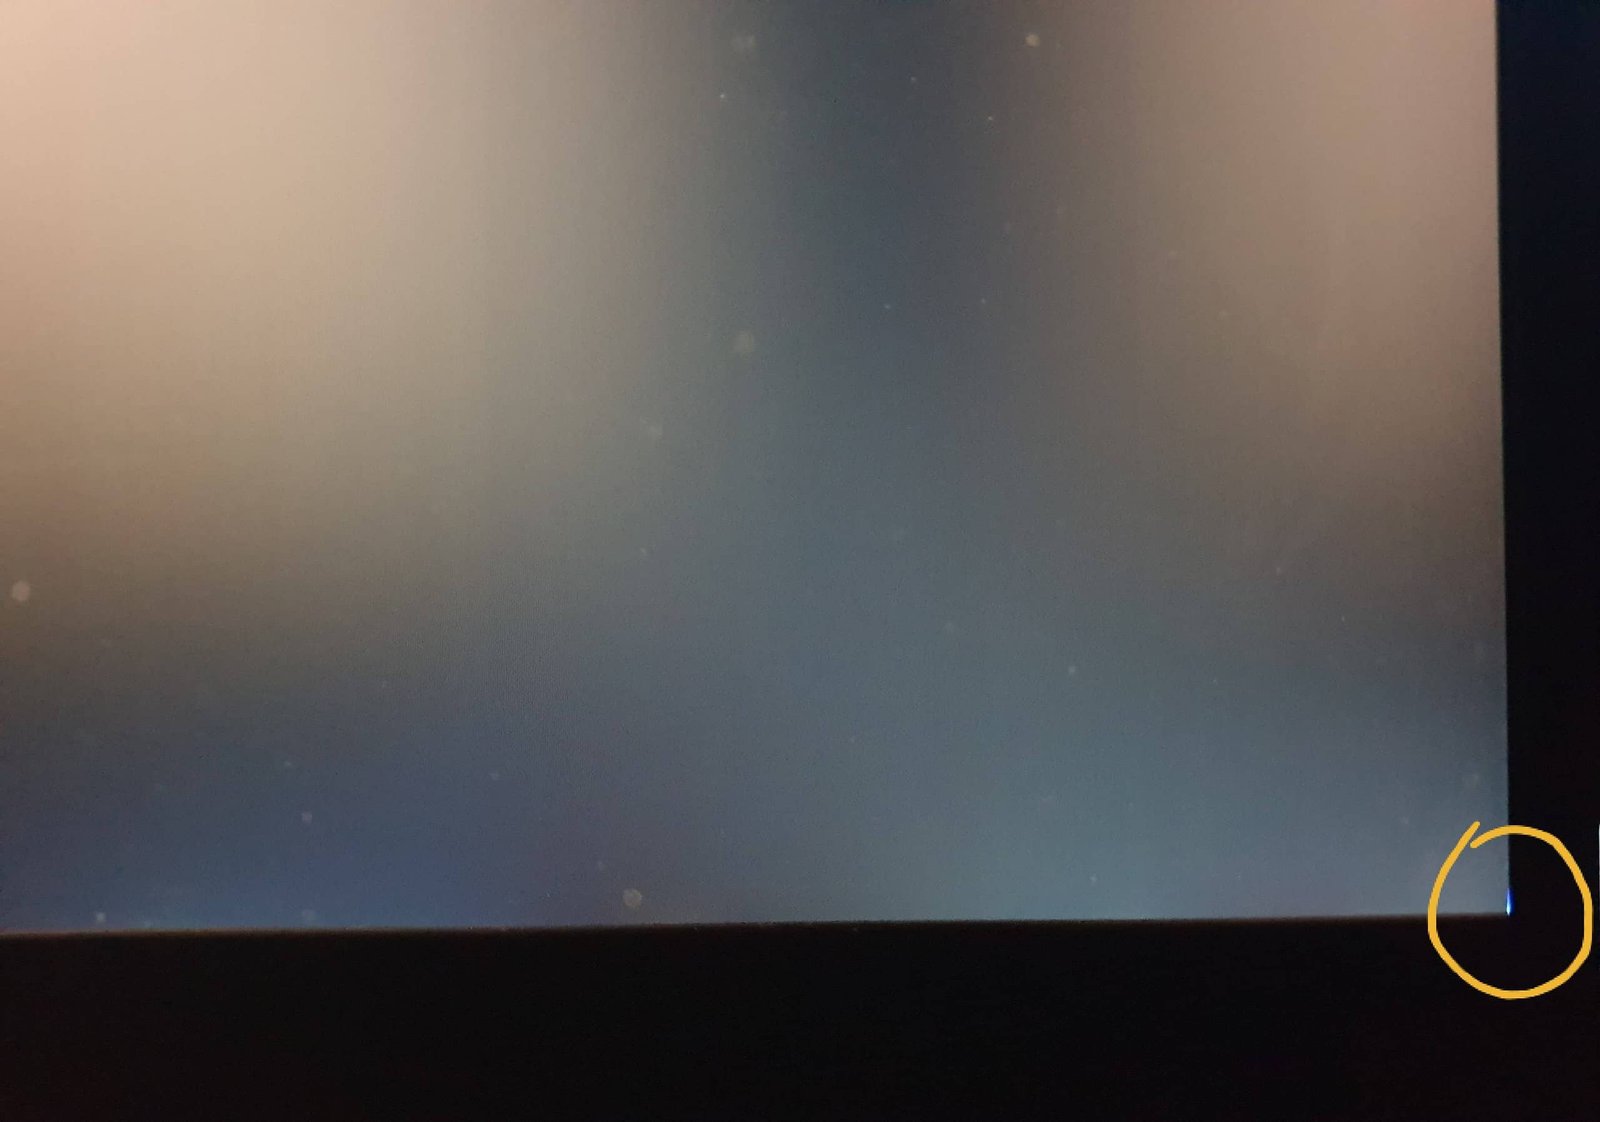
Are you experiencing a white line at the bottom of your laptop screen? This issue can be quite frustrating, but don’t worry – a few common causes could be behind it. In this section, we’ll explore these causes and provide some insights on how you can fix them.
Outdated Video Card Drivers
One possible reason for the white line at the bottom of your laptop screen is outdated video card drivers. Over time, video card drivers may become obsolete and incompatible with the latest software updates, leading to display issues. To fix this problem, you can update your video card drivers to the latest version.
Bad Connection Of The Video Cable
Another common cause of a white line at the bottom of the laptop screen is a bad connection of the video cable. This can occur due to loose or faulty connections between the video cable and the screen, causing intermittent display problems. To address this issue, you can check the video cable connection and reseat it firmly to ensure a secure connection.
Broken Ribbon Cables
Broken ribbon cables can also cause a white line at the bottom of the laptop screen. Ribbon cables are essential for transmitting data between the display panel and the motherboard. If these cables are damaged or severed, it can result in display abnormalities, including the appearance of white lines. To resolve this issue, you may need to replace the broken ribbon cables.
Problem In The System Software
The final common cause of a white line at the bottom of the laptop screen is a problem in the system software. Issues with the operating system or software configurations can lead to display inconsistencies. In such cases, updating or reinstalling the system software can often resolve the problem.
To summarize, a white line at the bottom of a laptop screen can be caused by outdated video card drivers, a bad connection of the video cable, broken ribbon cables, or problems in the system software. By identifying the specific cause of the issue, you can take the necessary steps to fix it and restore your laptop screen to its optimal functionality.
Solution 1: Update Video Card Drivers
Importance Of Updating Video Card Drivers
Video card drivers are responsible for rendering graphics and images on your screen, and outdated drivers can result in various issues, including the appearance of a white line at the bottom of your laptop screen. Updating your video card drivers ensures your laptop is equipped with the latest software enhancements and bug fixes, improving overall display quality and resolving potential compatibility issues.
Step-by-step Guide To Updating Video Card Drivers
Here is a step-by-step guide to help you update your video card drivers and fix the white line issue on your laptop screen:
- First, identify the manufacturer and model of your video card. You can usually find this information in the device manager or by checking the specifications of your laptop.
- Visit the official website of the video card manufacturer, such as NVIDIA or AMD, and navigate to the “Support” or “Downloads” section.
- Locate the latest driver version for your specific video card model and operating system. Download the driver file to your computer.
- Once the driver file is downloaded, open the file and follow the on-screen instructions to install the updated drivers.
- After the installation is complete, restart your laptop to apply the changes.
- Once your laptop has rebooted, check if the white line at the bottom of the screen issue has been resolved.
Troubleshooting Tips If Updating Doesn’t Resolve The Issue
If updating your video card drivers did not solve the problem of the white line at the bottom of your laptop screen, you can try these troubleshooting tips:
- Ensure that the video cable connecting your laptop screen is securely plugged in. Sometimes a loose connection can cause display issues.
- Inspect the video cable for any visible damage or fraying. If you notice any issues, consider replacing the cable.
- Try connecting your laptop to an external monitor to see if the white line appears on the external display as well. This can help determine if the issue is specific to your laptop screen or related to the video card itself.
- If the white line is still present on the external monitor, consider contacting a professional technician or the manufacturer for further assistance.
By following these steps and troubleshooting tips, you should be able to update your video card drivers and resolve the white line issue on your laptop screen. However, if the problem persists, it’s recommended to seek professional help to ensure a proper diagnosis and resolution.
Solution 2: Check the Video Cable Connection
If you’re experiencing a white line at the bottom of your laptop screen, one possible cause could be a bad or loose video cable connection. Checking and ensuring a secure video cable connection is an essential step in troubleshooting this issue. In this section, we’ll explore the importance of checking the video cable connection, provide a step-by-step guide on how to do it, and offer troubleshooting tips if the connection is loose or faulty.
Importance Of Checking Video Cable Connection
Checking the video cable connection is crucial in resolving the white line issue on your laptop screen. A loose or faulty video cable connection can disrupt the display signal, leading to various visual abnormalities such as white lines, flickering, or no display at all. By ensuring a secure connection, you can eliminate this potential cause and potentially fix the issue.
Step-by-step Guide To Checking Video Cable Connection
Follow these steps to check your laptop’s video cable connection:
- Power off your laptop and unplug the power adapter.
- Locate the video cable connection on the back of your laptop. It’s usually a rectangular connector labeled as “VGA,” “HDMI,” or “DisplayPort.”
- Ensure that the video cable is firmly inserted into the port. If it feels loose, gently push it in until it clicks into place.
- If you have a detachable video cable, try disconnecting it and then reconnecting it to ensure it is securely connected on both ends.
- Once the cable is secure, plug in the power adapter and power on your laptop to check if the white line issue is resolved.
Troubleshooting Tips If Connection Is Loose Or Faulty
If you find that the video cable connection is still loose or faulty after following the above steps, here are some troubleshooting tips:
- Try using a different video cable to eliminate the possibility of a faulty cable.
- Inspect the video cable and connectors for any visible damage. If you notice any bends, kinks, or cuts, it may be necessary to replace the cable.
- Check the video cable connection at the other end, which is usually located on the display panel or motherboard. Ensure it is securely connected.
- If available, consult your laptop’s manual or manufacturer’s website for specific instructions on accessing and checking the internal video cable connection.
- If all else fails, consider seeking professional assistance from a technician who can diagnose and fix the issue.
By following these steps and troubleshooting tips, you can effectively address the white line at the bottom of your laptop screen caused by a loose or faulty video cable connection. Remember to always power off your laptop and unplug the power adapter before attempting any cable connection adjustments.
Solution 3: Replace Broken Ribbon Cables
Start of Solution 3: Replace Broken Ribbon Cables
Importance Of Replacing Broken Ribbon Cables
When it comes to fixing the white line at the bottom of your laptop screen, it’s crucial to understand the importance of replacing broken ribbon cables. These cables are responsible for transmitting data signals from the motherboard to the display panel, allowing you to see images and videos on your screen. If these cables are damaged or malfunctioning, it can result in various display issues, including the appearance of white lines at the bottom of the screen. By replacing the broken ribbon cables, you can restore the functionality of your laptop screen and eliminate the annoying white line problem.
Step-by-step Guide To Replacing Ribbon Cables
- Start by ensuring that you have the necessary tools for the replacement process, such as a screwdriver and a replacement ribbon cable compatible with your laptop model.
- Power off your laptop and unplug it from any power sources.
- Remove the battery if possible to avoid any potential electric shock.
- Locate the screws that secure the bezel or frame of your laptop screen. Use a screwdriver to carefully remove these screws.
- Gently pry the bezel or frame away from the screen using a plastic opening tool or your fingers. Take your time to avoid damaging the screen or other components.
- Once the bezel is removed, you will have access to the ribbon cables. Identify the broken or damaged cable causing the white line issue.
- Disconnect the broken ribbon cable from its connector by gently pulling it out. Take note of its orientation to ensure the replacement cable is inserted correctly later.
- Take the replacement ribbon cable and align it with the connector. Insert it firmly until it clicks into place. Double-check that the cable is securely connected.
- Reattach the bezel or frame by aligning it with the laptop screen and carefully pressing it back into place.
- Secure the bezel or frame using the screws you removed earlier.
- Power on your laptop to check if the white line issue has been resolved. If the screen appears normal without any lines, congratulations! You have successfully replaced the broken ribbon cables.
Troubleshooting Tips If Replacement Doesn’t Solve The Problem
If replacing the broken ribbon cables did not solve the issue of the white line at the bottom of your laptop screen, there are a few troubleshooting tips you can try:
- Check the connections of the ribbon cables again to ensure they are properly seated.
- Inspect the other components of your laptop screen, such as the video cable or the display panel, for any signs of damage or malfunction.
- Update your laptop’s video card drivers and system software to the latest versions to eliminate any potential software-related issues.
- If the problem persists, it may be necessary to seek professional help or contact the manufacturer for further assistance.
Solution 4: Software Troubleshooting
When it comes to fixing the white line at the bottom of your laptop screen, software troubleshooting can often provide the solution. By addressing any underlying software issues, you can resolve the problem without the need for hardware repairs. In this section, we will discuss the importance of troubleshooting system software, provide a step-by-step guide to troubleshooting, and offer tips if software issues persist.
Importance Of Troubleshooting System Software
System software plays a crucial role in ensuring the smooth functioning of your laptop’s display. By troubleshooting any software-related issues, you can eliminate potential causes of the white line at the bottom of your screen. Here’s why troubleshooting system software is important:
- Identify and resolve software conflicts or bugs causing display issues
- Optimize display settings and configurations for better performance
- Update and reinstall drivers to fix compatibility issues
- Remove any conflicting applications or malware affecting the display
Step-by-step Guide To Troubleshooting System Software
To effectively troubleshoot system software and fix the white line at the bottom of your laptop screen, follow these steps:
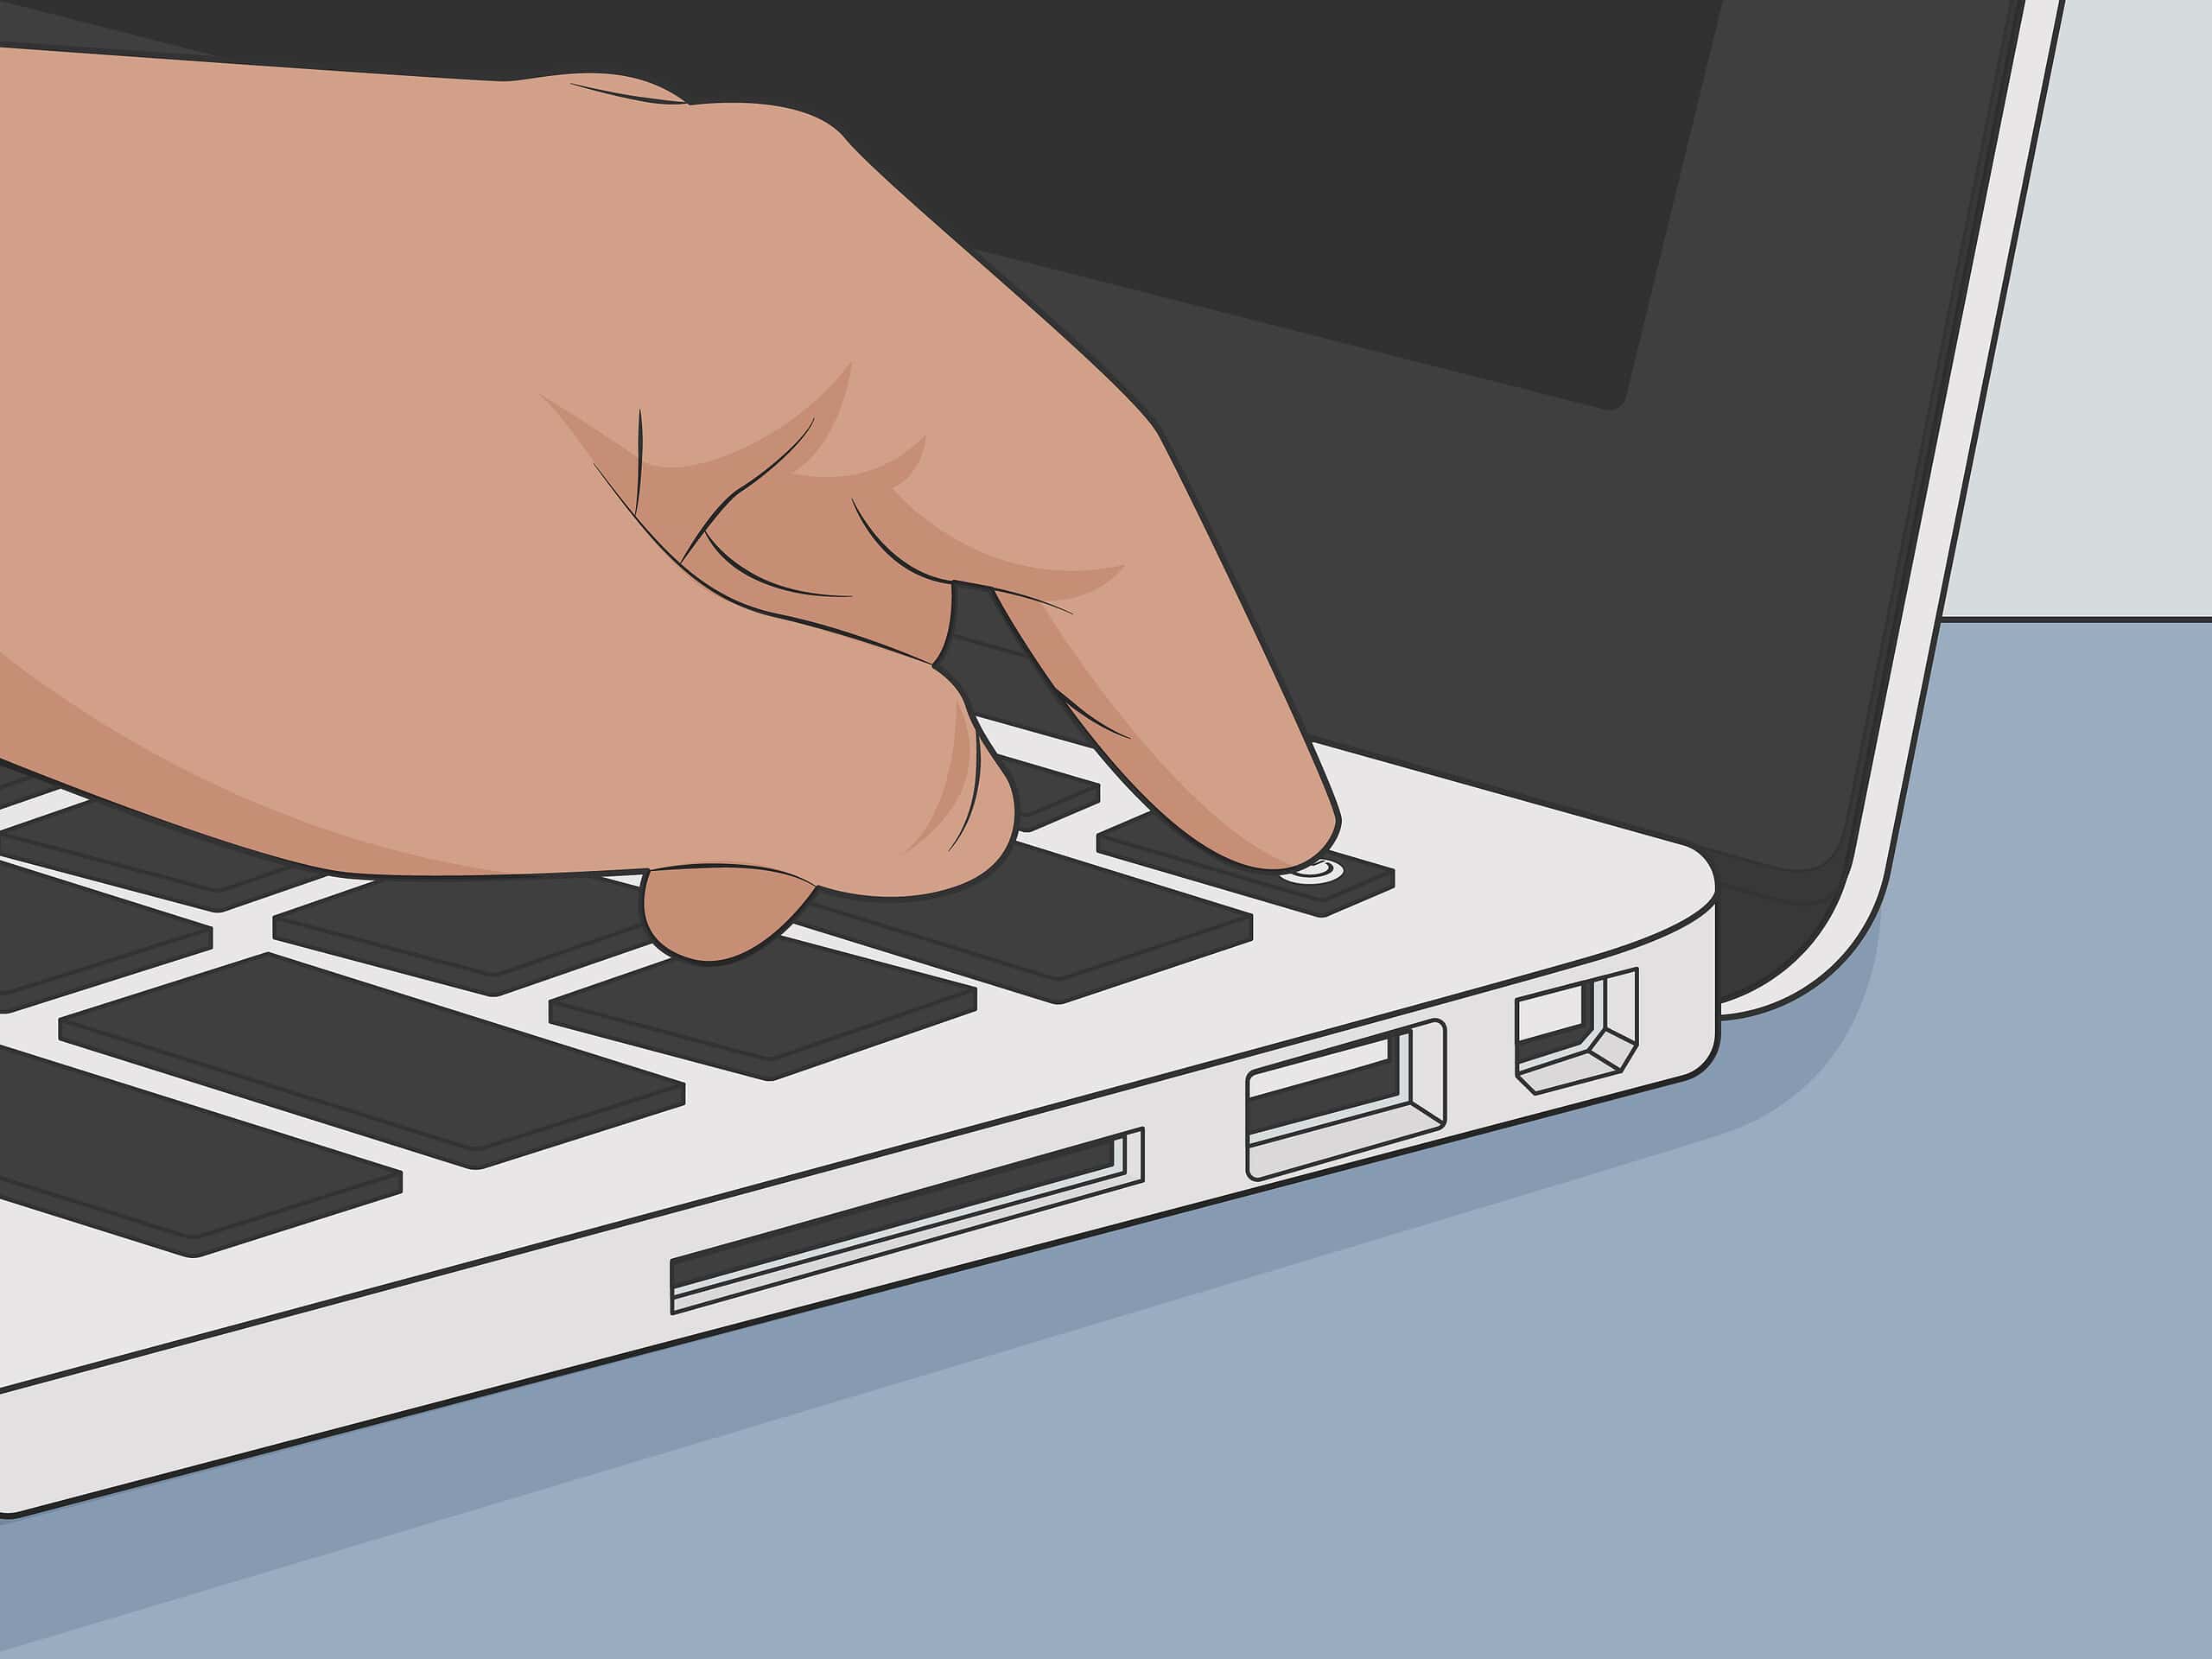
- Restart your laptop: A simple restart can resolve temporary software glitches that may be causing the issue.
- Update your display drivers: Visit the manufacturer’s website and download the latest drivers for your specific laptop model. Install them and restart your laptop.
- Adjust display settings: Open the display settings on your laptop and ensure the resolution, refresh rate, and color settings are properly configured.
- Scan for malware: Run a comprehensive malware scan using reliable antivirus software to eliminate any potential threats affecting your display.
- Disable conflicting applications: Temporarily disable any recently installed applications or software that may be causing conflicts with your display.
- Perform a system restore: If all else fails, you can restore your laptop to a previous state when the white line was not present. This can help revert any recent system changes that may have caused the issue.
Troubleshooting Tips If Software Issues Persist
If you have followed the above steps and the white line at the bottom of your laptop screen still persists, here are some additional troubleshooting tips:
- Check for operating system updates: Ensure that your laptop’s operating system is up to date. Install any pending updates and restart your laptop.
- Perform a clean boot: By performing a clean boot, you can isolate and identify any third-party software conflicts that may be causing the display issue. Instructions on how to perform a clean boot can be found on the manufacturer’s website or support forums.
- Contact technical support: If you are unable to troubleshoot the software issues yourself, contact the technical support of your laptop manufacturer for further assistance.
Credit: www.tuneskit.com
Frequently Asked Questions For Fix White Line At Bottom Of Laptop Screen
Why Is There A White Line At The Bottom Of My Laptop Screen?
There are multiple reasons for a white line at the bottom of your laptop screen, such as outdated video card drivers, a faulty video cable connection, broken ribbon cables, or software issues. To fix this, update your drivers, check cable connections, or seek professional help.
Why Is There A Line At The Bottom Of My Screen?
A white line at the bottom of your screen could be caused by outdated video card drivers, a bad video cable connection, broken ribbon cables, or a software issue. Try updating your drivers or checking the connections to fix the problem.
Why Is There A White Line At The Bottom Of My Laptop Screen?
There may be several reasons behind the occurrence of this problem. For example, the outdated old version of the video card drivers, the bad connection of the video cable, broken ribbon cables, or a problem in your system software.
How Can I Fix Vertical Lines On A Laptop Screen?
To fix vertical lines on your laptop screen, you can try adjusting the screen resolution, updating the graphics driver, reconnecting the video cable, or resetting the BIOS settings. If these methods don’t work, it may be best to seek professional help.
Conclusion
To fix the white line at the bottom of your laptop screen, there are several possible solutions. Check for outdated video card drivers, ensure the video cable is properly connected, and inspect the ribbon cables for any damage. You may also want to update your system software.
Try these troubleshooting steps to fix the issue and get your screen back to normal. Remember, it’s important to address this problem as soon as possible to prevent further damage to your laptop.